Day 1
We first started out by brainstorming different ideas for the design. Christina and I came up with many different types of structures. We narrowed our choices down to 3, which included the following:
 |
| Fig 1. Initial Ideas for the Bottle Opener |
Next step was making a life-size model of the bottle opener using foam core. It took three trials for the foam core model to look like what we envisioned. We wanted the design to be aesthetically pleasing, functional, and easy to use/hold.
 |
| Fig 2. Foam Core Models |
When designing our models, we took into consideration various physical properties. In class, we learned about deflection, which is the measurement of how much a material displaces under the presence of force. For a cantilever with a fixed end, the equation of deflection is as follows:
Deflection=(FL^3)/(3EI)
F=Force
L=Length of the beam
E=Young's Modulus
I=Area Moment of Inertia
F=Force
L=Length of the beam
E=Young's Modulus
I=Area Moment of Inertia
According to the equation, we know that making length long would cause a lot of deflection. I also took torque into consideration because the bottle opening motion is essentially rotating the opener around a fixed axis. With a given amount of torque, if the distance between the axis and and the force (or the point where the force is applied) is bigger, we can rotate the object with less force and vice versa. Therefore, we did not want the length of the bottle opener to be too short either.
In terms of material, we decided to use the 1/8 inch delrin because we found it sufficiently strong for our purposes.
In terms of material, we decided to use the 1/8 inch delrin because we found it sufficiently strong for our purposes.
Day 2
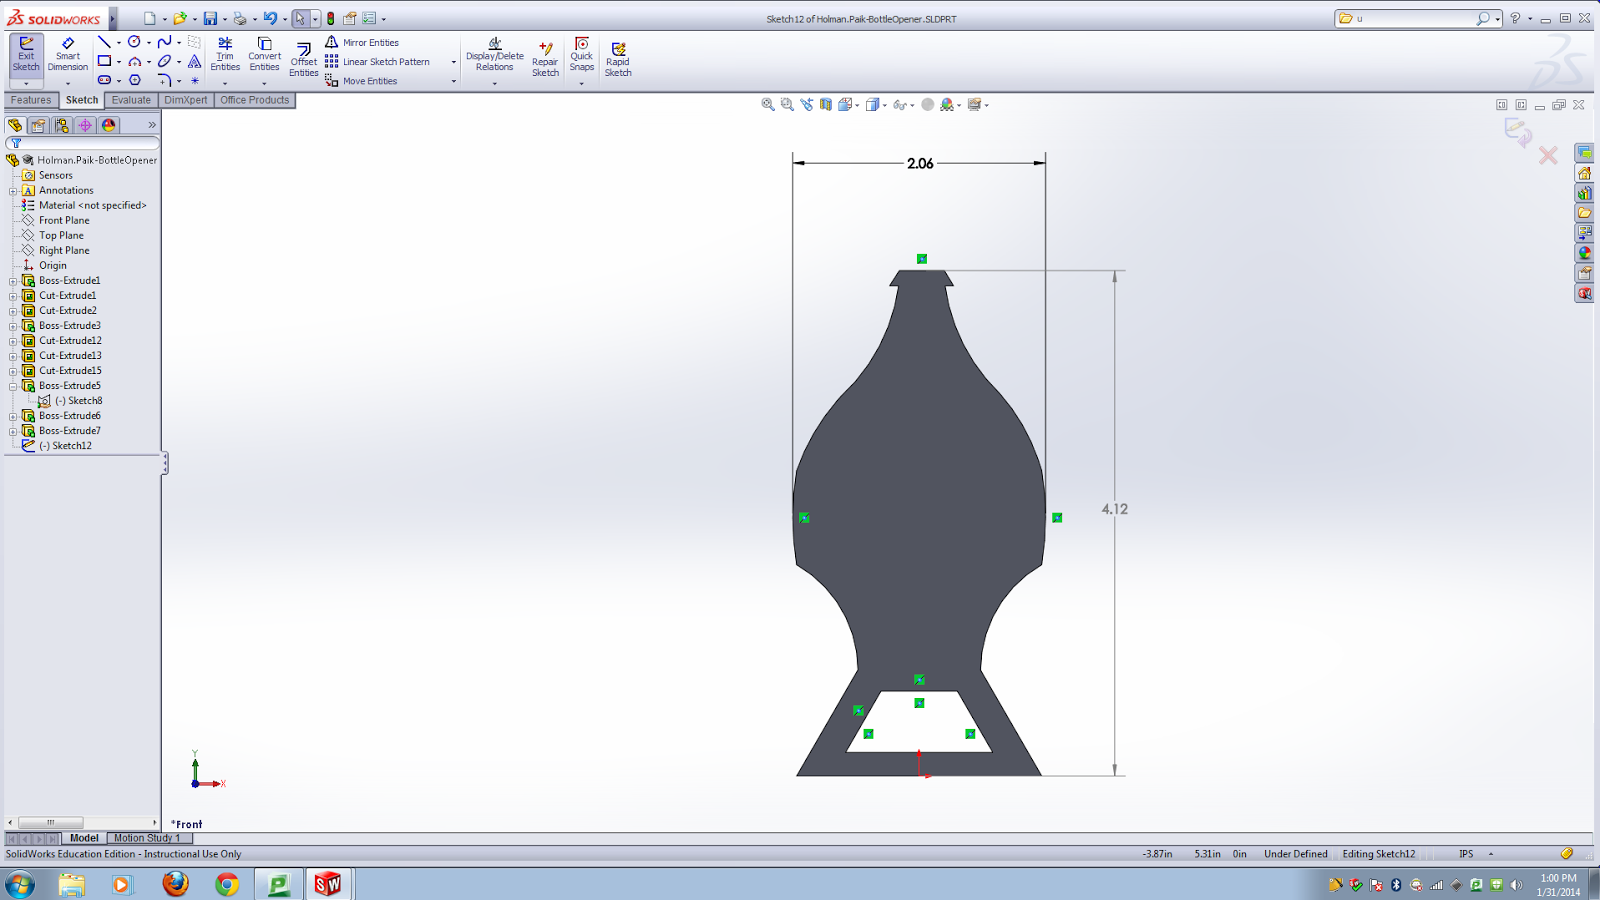
Using the foam core model as a reference,we started to draw our design using solid works. This process required a lot of patience because it was my first time using the software. Eventually, I learned a lot of different commands and features of the software and it made the drawing process easier and faster.
After we drew the sketch, we changed the color of the lines to indicate what lines required cutting verses etching.
 |
| Fig 3. Solid Works Drawing of the First Bottle Opener |
Day 3
We spent most of the second class meeting trying to print our drawing using the laser cutter. During our first try, the laser was running through the cuts multiple times, which made the delrin melt. Also, the etchings were not too visible.
Then, we found out that making a PDF version of our drawing could facilitate the cutting process, so we made the PDF file and was able to successfully cut our bottle opener.
 |
| Fig 4. Finished Product of the First Bottle Opener |
We tested our bottle opener to see if it was able to open the bottle cap. It took several tries, but with some effort, we could get it to open.
Day 4
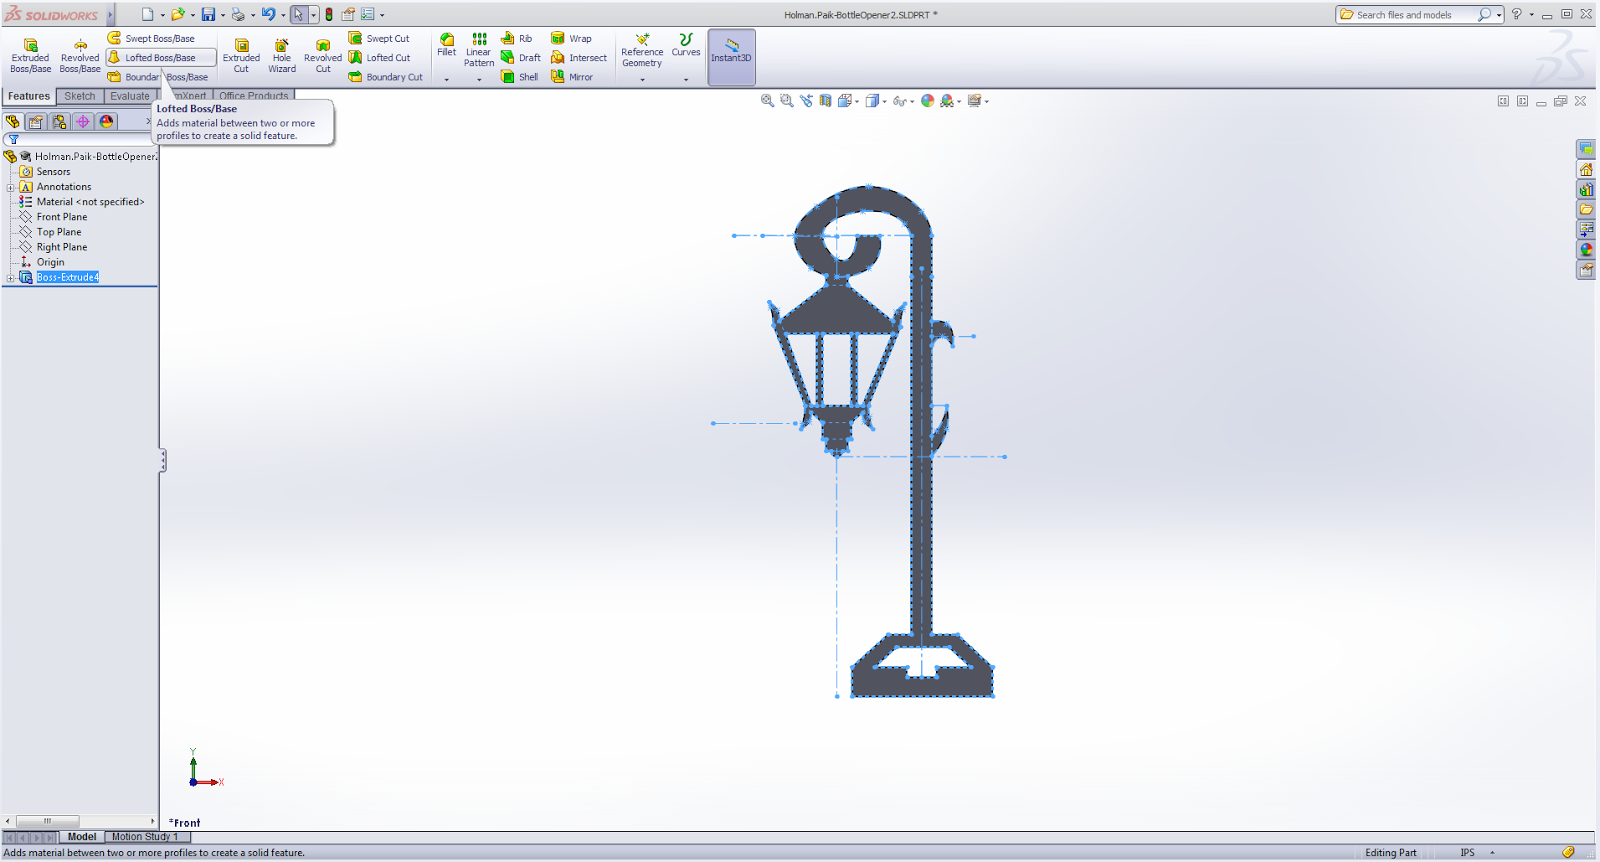
For our second bottle opener, we decided to change our design so that it would be more aesthetically pleasing and functional. We decided to make the opening on our bottle opener narrower so it would be caught onto the bottle cap and provide more leverage. We also decided to change the design so that it would resemble a Wellesley lamp post. Lastly, we wanted to add an additional bottle opening mechanism that would hook the bottle cap and lift it up.
 |
| Fig 5. Rough Sketch of the Second Design |
 |
| Fig 6. Solid Works Drawing of the Second Bottle Opener |
Day 5
During the class period, we cut out our second bottle opener. However, the dimensions were off and some of the parts broke off.
 |
| Fig 7. Final Product of the Second Bottle Opener |
We found out that we needed to make our design more structurally sound. Also, we found out that our drawing was being transferred as a 1:2 ratio which altered our dimensions. We redesigned our bottle opener for the third time.
 | |
| Fig 8. Final Bottle Opener Design |
Day 6
We cut out our final bottle opener design using a 3/16 inch delrin. We tested the product to see if would open the bottle. Using the hook mechanism, the bottle opened successfully.
 | |
| Fig 9. Final Product of the Third Bottle Opener |
Final Thoughts:
It was surprising to learn that making a simple device such as a bottle opener required a lot of trial and error. Even though we took physics into account when making our design,the actual product did not seem to utilize the laws of physics that we had considered. If we could have another chance, I would want to create a very sturdy design that could open the bottle with more ease.
No comments:
Post a Comment